ARB Bull Bar Installation on Jeep YJ Wrangler

One important aspect of any outdoor adventure is making it home safely. Animal strikes are one of the leading causes of vehicle damage when traveling in rural and remote areas, especially at night. As anybody who travels the highways knows, here in the Pacific Northwest, we have our share of animal strikes.
The most common you see along the side of the road are deer. I have also seen collisions with elk, cattle, and horses. Our friends to the North in British Columbia frequently witness collisions with moose.
In a full head-on animal strike, at a minimum, you will most likely damage your radiator, which can incapacitate your vehicle. Hopefully, the collision will be a glancing blow, minimizing the damage. I’ve seen pickup trucks where a 60 mph collision with a deer caused damage to the entire front end, including the bumper, grill, radiator, core support, hood, and front fenders. Losing your vehicle far from home is the last thing a person wants on an adventure.
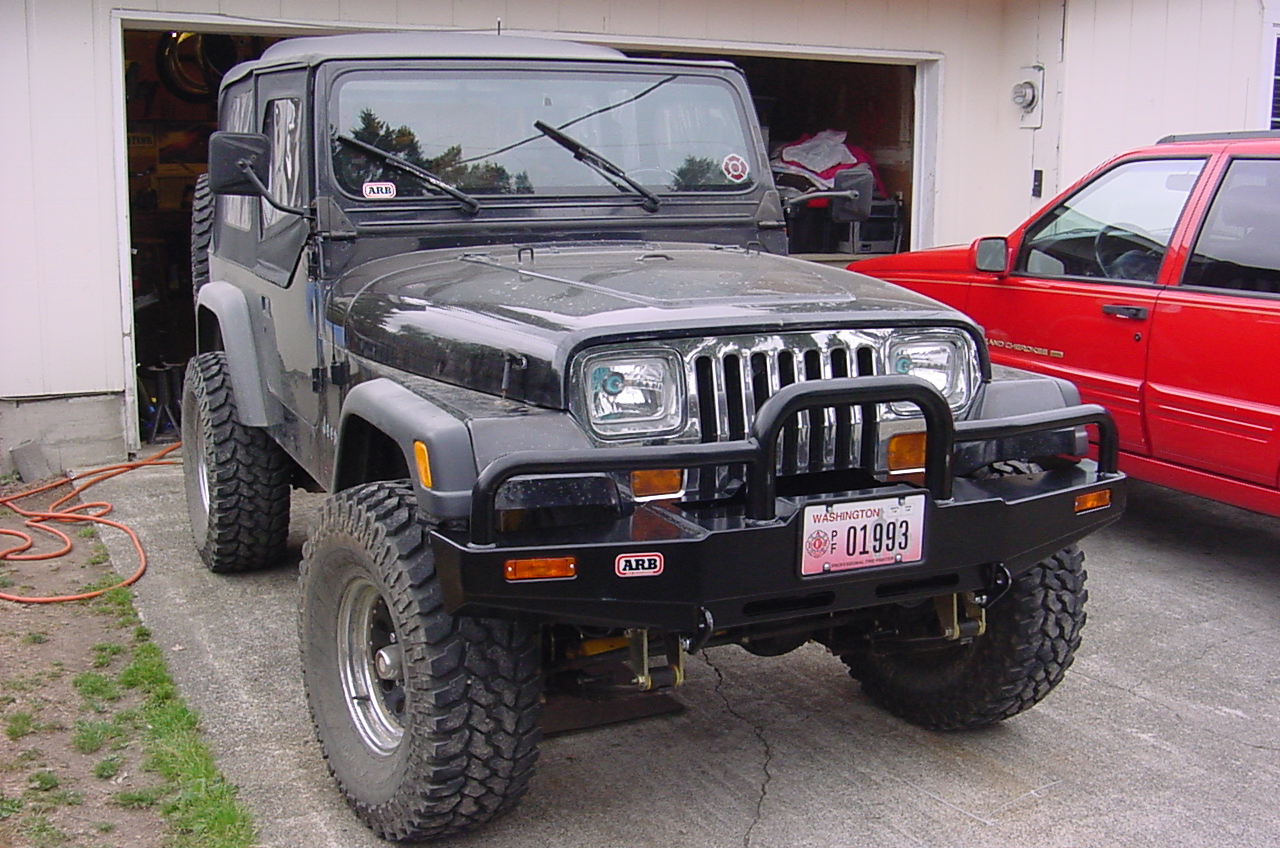
After my research, I found that, by most opinions, ARB makes the best aftermarket bumper that protects against animal strikes. Most bumpers are for clearance for wheeling and do not offer substantial protection. The ARB Bull Bar offers a very secure location to mount a winch and enhances the look of any vehicle (my opinion, of course). And, of course, any bumper that protects against animal strikes will greatly increase safety if involved in a collision with another vehicle.
The following outlines the installation of an ARB Bull Bar on my Jeep YJ Wrangler.


For the left turn indicator, locate the gray/black wire (turn signal) and the black wire (ground). My Jeep had two gray/black wires leading into the left turn indicator harness. Use a wire tester to determine the correct wire to use. I got lucky on my first try.
I secured the extra indicator light harness with zip ties and placed the excess in the front cross-member tube.
Note: The wiring diagram I used was from a 1992 Jeep Factory Service Manual. The colors and/or the harness may be different in other years

The installation was straightforward and could be completed in only a few hours with basic mechanical skills. As usual, you will need a few more tools than the instructions call for.
Of course, such a bumper will add more weight to the front of your vehicle, so a heavier spring rate may be required for your vehicle.
Now all I need to do is mount a winch, and I’ll be ready for even more adventures.