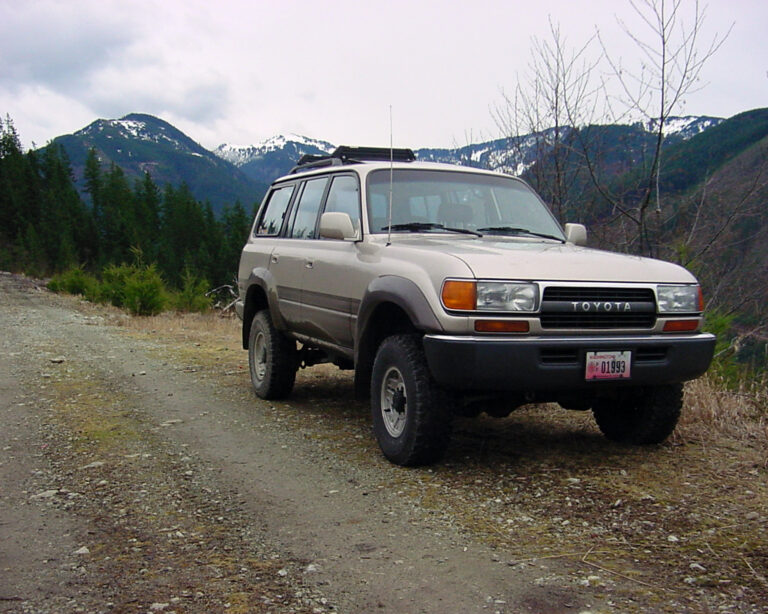
Having recently witnessing first hand what a deer can do to a full size vehicle at highway speeds and considering the locations I travel to and from, I decided it was time to add a little protection to the front of my Toyota FJ80 Land Cruiser.
My needs for protection of the front of Land Cruiser were simple, maximum front end protection from animal strikes and other objects, and a strong point to mount a future winch. Since I’m building my Land Cruiser as an overland expedition type vehicle, there was no need for super high clearance rock crawling bumpers. I wanted a bumper that would increase the chances of reaching my destination if the unthinkable happens.
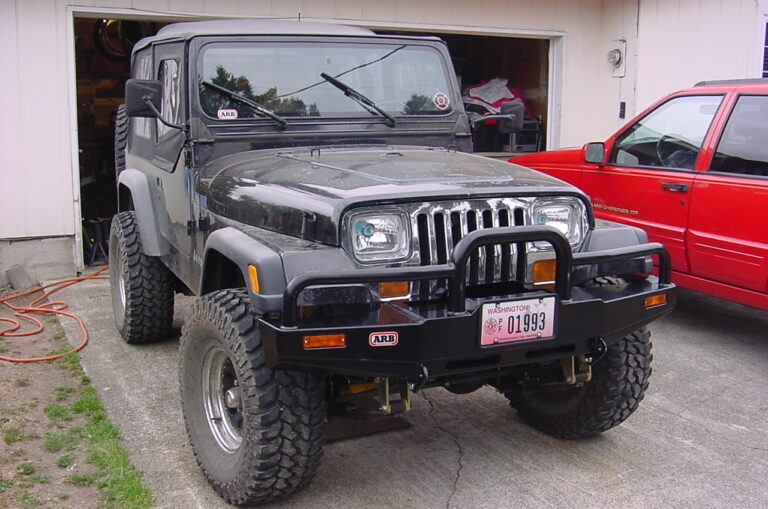
For me, the choice was easy. I previously installed an ARB Bull Bar on my Jeep YJ Wrangler and was very satisfied for the short time I had it (see ARB Bull Bar Installation on Jeep YJ Wrangler). I know the engineering and quality of workmanship that goes into the ARB Bull Bar. And finally, ARB has also been building the 80-series Land Cruiser Bull Bar probably longer than anybody else.
Once I got the new ARB Bull Bar home, I was excited to get it installed. Here are the photos and notes from the installation on my 80-series Land Cruiser.
NOTE: If you are mounting a winch at the same time you are installing the ARB bull bar (as I wish I was), you would attach the winch to the bull bar before installing.
Remove existing bumper. The front bumper of an 80-series is attached to the vehicle by two brackets on the frame rails and two small brackets at each end of the bumper that attach to the inner wheel well. I first unbolted the bracket from the inner wheel well on each side (2 small bolts on each side). Next I removed two bolts on each side that attach to the bumper bracket to the frame rail. At this time, the bumper was loose and was easily removed.
Remove both front tow hooks. Two bolts on each side and they are off. Discard the factory bolts. Then I chased the threads in the frame rail with a tap. Some the of holes that the bull bar use are not used in the factory bumper and may be corroded or rusty.
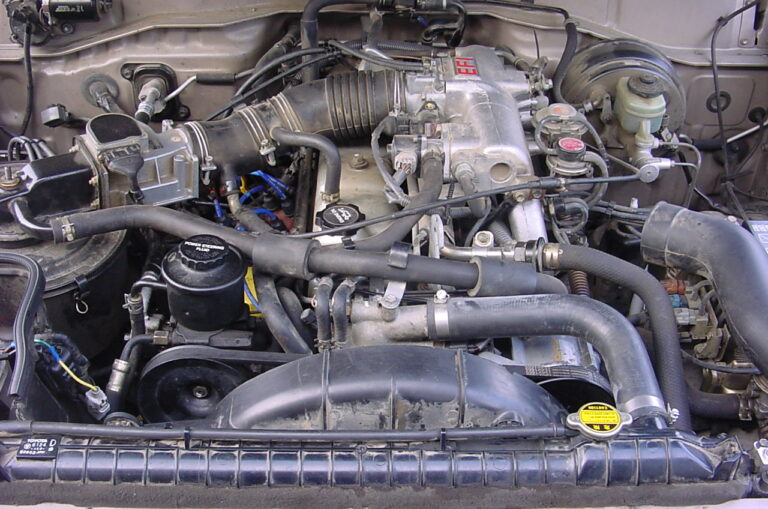
Splice in turn indicator pigtail assemblies. Here I deviated from the instructions provided by ARB. It’s a lot easier to wire in the turn indicator pig tail before the bull bar is installed. I started by removing the factory turn indicator from the vehicle. I cleaned the factory wiring and determined the hot and the ground. On my 1992 Land Cruiser, the hot lead was the brown wire. I then spliced the brown wire of the turn indicator pigtail to the brown factory wiring. Next I spliced in the ground wire to the factory harness. After splicing the pigtail, I plugged in the light and tested the turn indicator and four-way flasher circuits. I then wrapped up the splices in electrical tape for extra security and protection. When I had the turn indicators apart, I noticed that Toyota has breather tubes for all the light housings on the Land Cruiser. A nice feature that shows the Land Cruiser was designed for off road use.
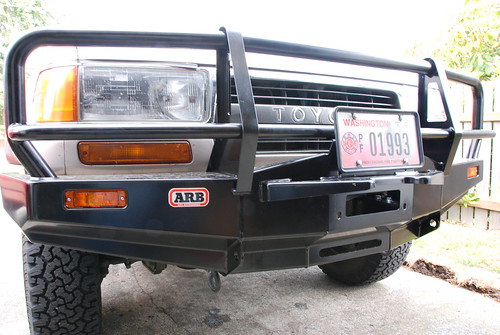
Place bull bar onto frame rails. With the help of an assistant (especially if installing with a winch), I slid the bull bar over the frame rails of the Land Cruiser until the mounting holes on the bull bar aligned with those on the frame rail. With the included fasteners, I fitted the appropriate sized bolts, flat washers and lock washers. There are two on the side of each frame rail and two on the top of each frame rail. Of course, I didn’t tighten them all down until I had all the bolts started into the threads.
Reinstall factory tow hooks. Using the include fasteners and the provided packer plates, I reinstalled the the factory tow hooks in their original location. Before final tightening of the bull bar mounting bolts, I checked for proper alignment with the body.
Install turn indicator assemblies. The turn indicator assembly provided by ARB includes a seal that needs to be installed between the housing and the lenses. The ideal installation is to leave a small gap in the seal so moisture can drain out the bottom of the light assembly if it becomes wet. After installing the plastic screw inserts into the bumper, I joined the indicator housing, seal and lens together and inserted the provided screws into the holes to hold it all together. Very carefully (and I mean very carefully because the lens will break if over tightened) I tightened down the screws that hold the lens in place. My technique was to push the lens tight against the seal and while holding the lens in this position, tighten the screws only enough to hold the lens in place.
Install your license plate If required by your local government, install you license plate using the mounting bracket included with the bull bar.
That’s all there is to installing an ARB bull bar on your 80-series Toyota Land Cruiser. It’s a simple project to do with basic hand tools. Everything you need for the installation, right down to the light bulbs, are included in the installation kit.
After owning a 3FE powered FJ80 Land Cruiser for a short period of time, I realized there is not much vendor support or even information on the Internet regarding our unique Land Cruisers. With only about 15,000 imported into the US, there’s not much of a market to cater to. I know we have a…
One important aspect of any outdoor adventure is making it home safely. Animal strikes are one of the leading causes of vehicle damage when traveling in rural and remote areas, especially at night. As anybody who travels the highways knows, here in the Pacific Northwest, we have our share of animal strikes. The most common…
After only having my Land Cruiser for about three weeks, I had my first equipment failure – the number three belt that powers the air conditioning unit broke (the belt closest to the engine). Normally, I replace belts on a regular basis and use the existing belts as spares in case of a failure; however,…
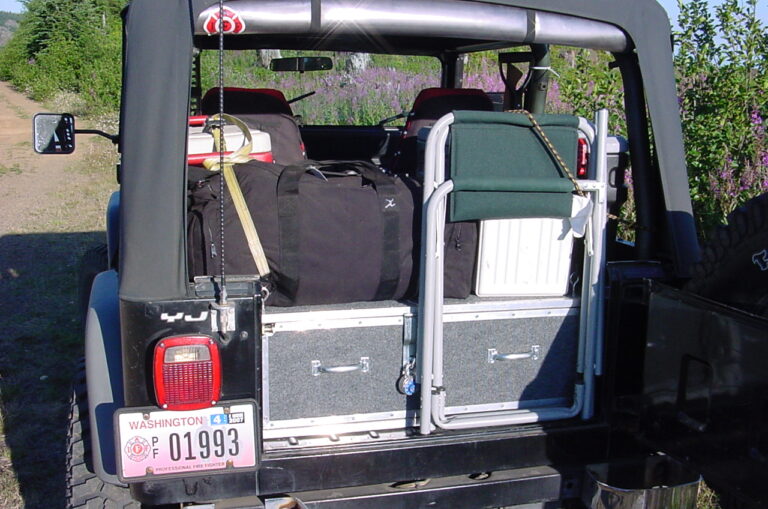
As anybody with a short wheelbase Jeep knows, it’s easy to run out of storage space fast. Jeeps were never intended to be multi-day expedition vehicles such as the Toyota Land Cruiser or a Land Rover, but we continue trying to make it work. For my current needs, I decided that I would rather sacrifice…
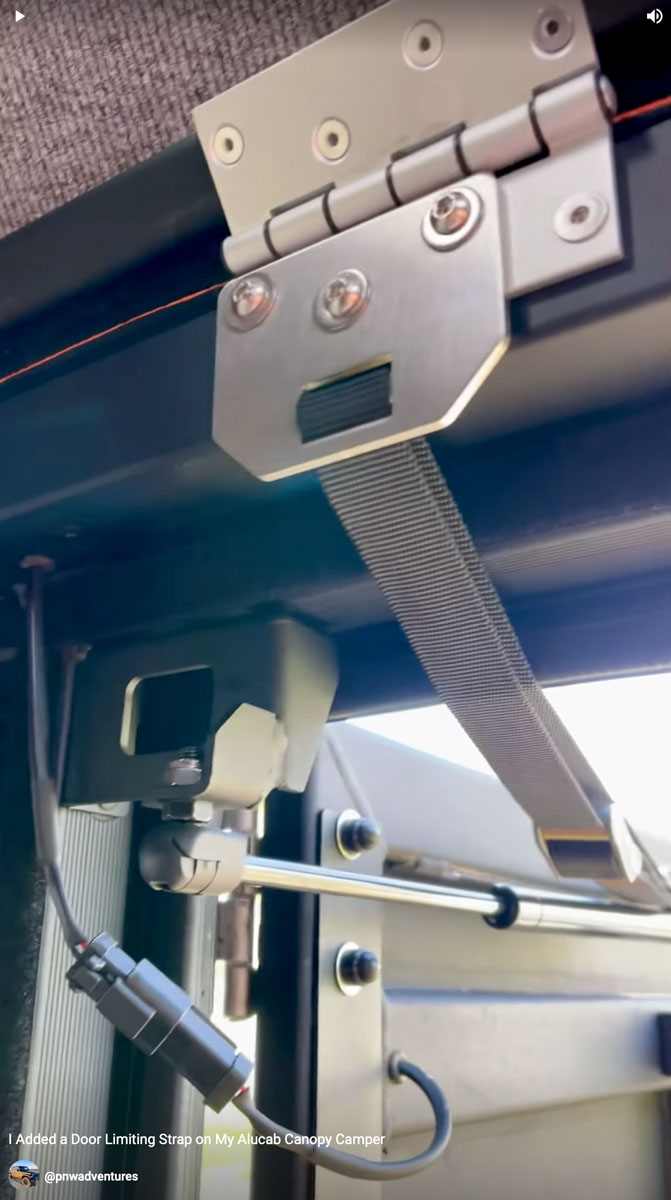
If you’re an owner of the Alucab Canopy Camper, you might have encountered an issue with the factory-installed rear door strap. The bracket attached to the camper tends to flex under windy conditions or when the door swings open quickly, risking potential breakage.
When I purchased my 1992 Toyota FJ80 Land Cruiser, the previous owner informed me that the four-wheel-drive system did not work. I knew the transfer case was a rebuilt unit so I figured it would be something simple such as a switch or a relay. Little did I know that I would spend hours trying…