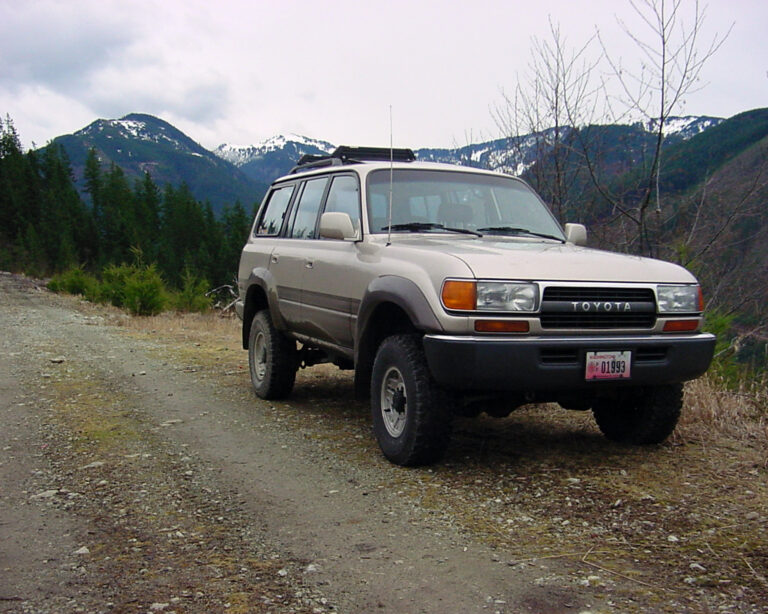

Changing Drive Belts on a 3FE Powered Toyota FJ80 Land Cruiser
After only having my Land Cruiser for about three weeks, I had my first equipment failure – the number three belt that powers the air conditioning unit broke (the belt closest to the engine).
Normally, I replace belts on a regular basis and use the existing belts as spares in case of a failure; however, this time around, they looked in good shape, so I waited. Luckily, it was only for the air conditioning pump, and I wasn’t far from home on some back road adventure.
Since I haven’t done my research to find out the best belts to purchase (probably Toyota OEM) and because I wanted to get the project done as soon as possible, I visited my local auto parts store and purchased the needed belt. While there, I asked for the price and availability of the other two belts and found out that they only stocked the belt I needed and that one was available from the warehouse, and the other is a four day order. The local availability of the other belts confirmed the need to have a full set of spare belts while traveling, especially if you need to rely on a small town auto parts store for a replacement.
Now I know this article isn’t an advanced tech subject. Most of you who work on vehicles regularly don’t need a tutorial on how to change your belts. This article is for someone who may have limited experience and would like to tackle a small project to save money or learn more about their Toyota Land Cruiser.
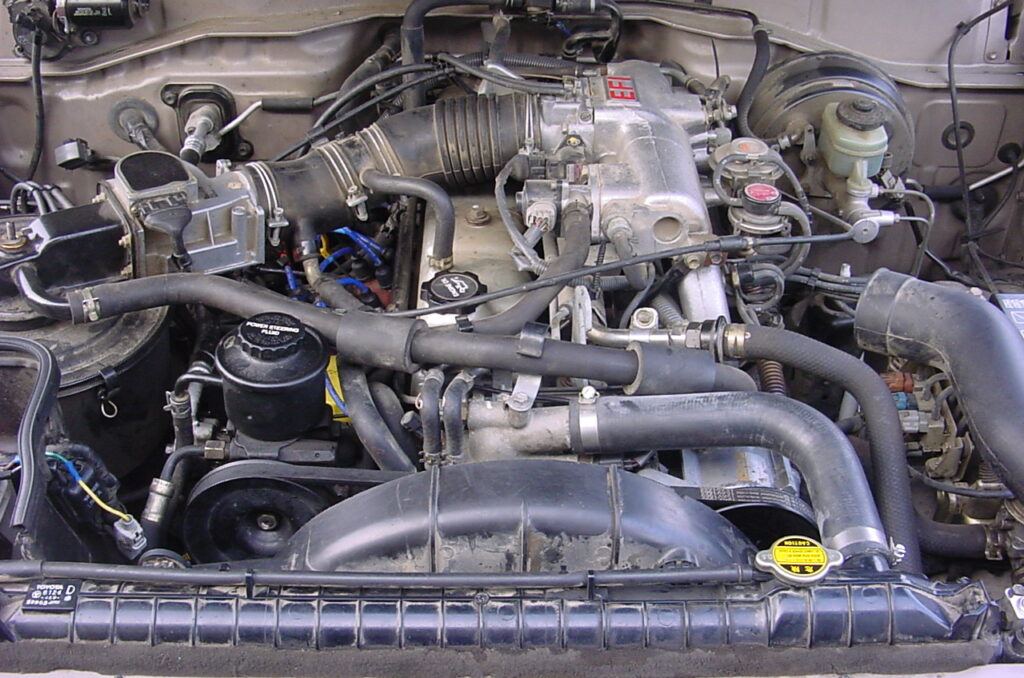
On a 3FE-powered Toyota FJ80 Landcruiser (and probably also a FJ62), there are three separate belts that power your engine driven accessories. The first belt (closest to the radiator) spins your power steering pump, air pump, and alternator. The second (middle) belt spins your water pump and alternator, while the third belt (closest to the engine) spins your air conditioning unit. Unless you are replacing the first belt, you will need to remove all belts in front of the belt you are replacing.
Before proceeding, I recommend that you note the configuration of the pulleys and the belts so you have a record of how the belts are installed.
As in most cases, an automotive repair job is much easier if you have knowledge of where all fasteners are located. In this case, you have to spend a few minutes looking around at each component to determine what bolts need to be loosened to allow the belts to be removed. This article will provide tips to speed up your time frame for completion.

Removal of the first belt is pretty straightforward. You can either loosen the adjustment pulley directly beneath the power steering pump or simply loosen the power steering pump itself. Since the power steering pump is on top and easy to access, I loosened it. All you need is a 14 mm box end wrench to loosen the pivot bolt (on the right side of the power steering pump when facing the engine), and the tension adjustment bolt on the left side of the pump (where the slotted bracket is located). If you are simply accessing another belt, remove the belt from the pulleys and push the belt to the side. If replacing, you must slide the belt over the cooling fan.


The second or middle belt is a little more of a challenge simply because of the lack of access. The tension adjustment for the belt is made via the alternator. On the bottom of the alternator, on the backside near the driver’s side motor mount, there is a bolt that the alternator pivots on while adjusting the belt tension that needs to be loosened. Since there is minimal space to access the bolt from above, I used a 14 mm socket, extension, and ratchet and accessed the bolt from below (next to the inside frame rail and over the motor mount). Next, I loosened the bolt on the front of the alternator that slides in the slot in the alternator bracket using a 12 mm wrench. As you are facing the alternator on the right side, an additional bolt allows you to adjust and hold the belt’s tension. Using a 12 mm socket, loosen this bolt to relieve the tension on the belt. Remove or push the belt to the side as needed.
The third belt (closest to the engine) is removed by loosening a pulley directly underneath the air conditioning pump. First, you will need to loosen the center nut of the pulley to allow for adjustment. Next, using a 12 mm socket, extension, and ratchet, access the adjustment bolt for the pulley through the passenger side wheel well between the frame rail and inner fender. Replace the belt as needed.
Assembly is in reverse of the above order. Adjust the belts to factory specs. You should be good to go for a while. Toyota calls for inspection every 15,000 miles. Personally, I like to change the belts on a minimum of a 2 year or 15,000 mile basis. Something so simple can ruin a day of fun.